America's most shopped online Christmas lights store!
- About Us
- My Account
- Sign Out
- Sign In
- Help
-
1-866-962-7382
Chat Now

Hanging Christmas Lights
Step 1 for Hanging Christmas Lights- Have Proper Materials
Hanging Christmas lights like a pro can be accomplished by anyone, regardless of skill level and experience. With the proper tools and steps, any beginner can successfully light up the exterior of a home.

It goes without saying that to hang Christmas lights, you must have Christmas lights! But if you don't, or you're looking to create a whole new design this year, we have a large variety lights available for you!

Set your lights to come on and go off when you want them to with Christmas light timers and controllers. Even if you aren't home in the evening, you'll still be able to spread Christmas cheer for all those passing by!

Light clips provide convenient installation for hanging Christmas lights on gutters, shingles, walkways, windows, railings and more resulting in a professional quality finish every time.

Other Helpful Tools and Supplies
A few other items you may find helpful in hanging your Christmas lights are...
Step 2 - The Professionals Always Measure
Professional light installers always have a tape measure handy. There is no other way to accurately determine how many lights will be needed, and what lengths of string lights to use. Start by measuring at the base of the house, going along any turns and corners. Measure doors and door frames, window frames, and any columns that will be lit. If hanging Christmas lights on peaks, climb carefully up a ladder and measure along the area of the peak to be decorated.
Step 3 - Evaluate Hanging Surfaces
Begin by studying the roofline, gutters, and shingles. Christmas lights can be installed on any of these surfaces, but there are specific light clips for each type of surface. Inspect how thick the gutter lip is, and how loose or tight the shingles on the roof are. Do the gutters get in the way of the shingles?
Next, locate power sources. Most new homes are equipped with outdoor power sources, but older homes may need to use an indoor power source, with the power cord coming through a window. Measure how many feet of power cord will be required to extend from the power source to the beginning of the roofline.
The steps above are vital. This is where design begins, and limitations are found. When hanging Christmas lights, there are many obstacles that will surprise the first time installer, but if planned correctly, every limitation or obstacle is easy to overcome.

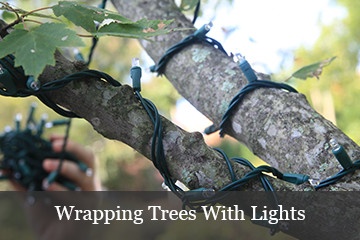
Find ideas for decorating your roofline with Christmas lights and discover how to hang lights like the professionals.
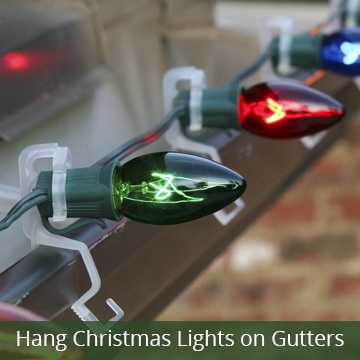
Hang Christmas lights on gutters with ease and learn what clips works best with all gutters, including the thick-lipped.
Step 4- Best Christmas Lights For Your Job
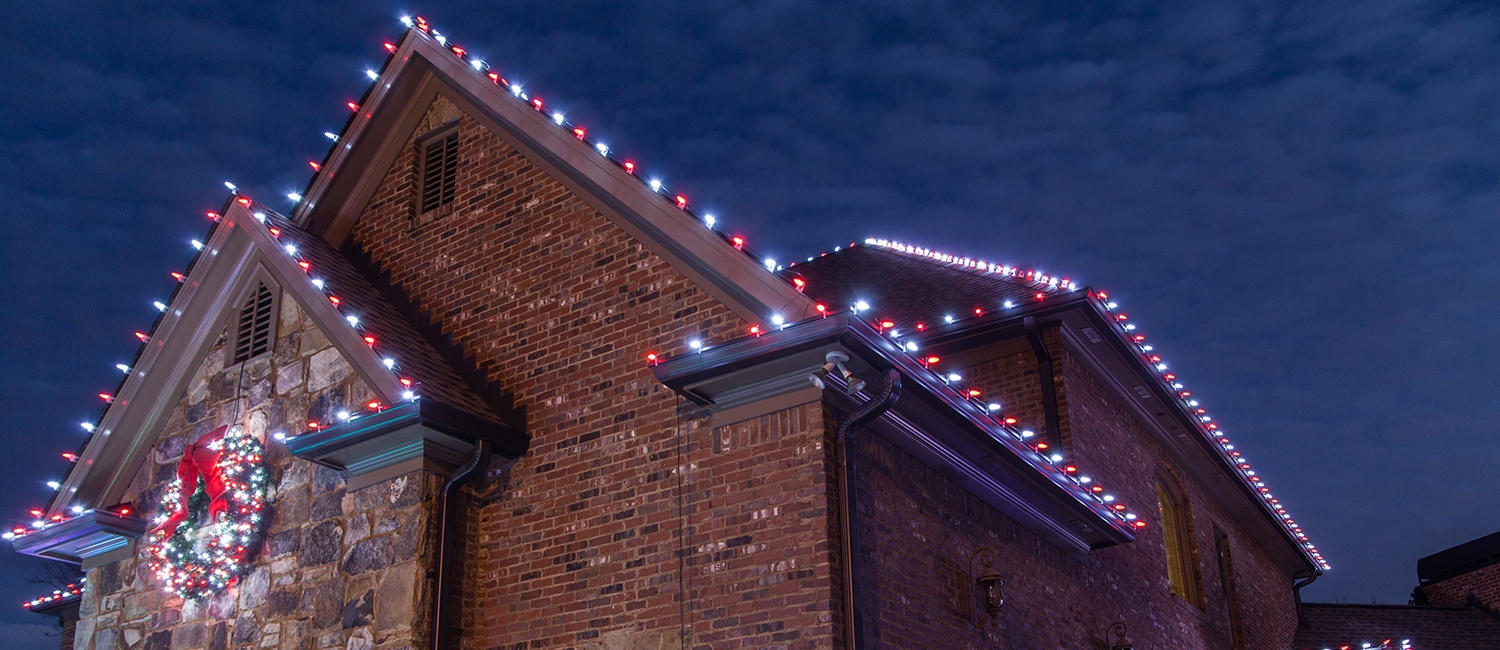
Popular Christmas lights for hanging on the roof or gutter are icicle lights and C7 and C9 bulbs. C7 and C9 bulbs and stringers can be purchased separately, as convenient commercial light sets where the bulb and stringer are included or as prelamped light strings with bulbs that are not removable.
Purchasing bulbs and stringers separately or as a set with removable bulbs has many advantages, including better selection in wire color, easy replacements of bad bulbs, and ability to change out bulb colors each season. For large or custom lighting projects, purchase a light spool and cut wire as needed.

Step 5 - Calculate Christmas Lights Wattage
Lighting professionals calculate power wattage to prevent overloading the circuit or blowing a fuse. To determine Christmas light wattage, multiply the wattage of the bulb by the number of sockets to get total wattage of a string light, then divide the total watts by 120 to reach total amps.
Quick Reminder: When Calculating for Watts and Amps....
For more information on how to calculate wattage visit our Christmas Lights Wattage Calculations page!

Step 6 - Choose the Right Christmas Light Clips
Choosing the best Christmas light clips for the project is key. Study which clips will work best with the roofline, shingles, or gutters, and pay attention to which bulb sockets will fit in each clip. All-in-one clips are a great option because they work with the largest variety of bulbs and applications.
It's usually better to attach Christmas lights to the clips on the ground and then climb carefully up the ladder with only one string of lights at a time. Take caution not to let incandescent bulbs hit the ladder or walls while climbing to prevent broken bulbs during installation.
To find even more options and determine the best clip for your project, visit our Christmas light clips chart.
Step 7 - Turn On The Lights!
The final step in hanging Christmas lights is to turn the power on and admire the view. Look for any bulbs that may not be lit, and ensure they are screwed in tightly, replacing any if necessary.
Set an outdoor timer to turn the lights on daily at dusk, and either turn off at midnight (a popular time), or the next morning. Most timers shut off outdoor lights between 11pm and midnight to save on energy, yet stay on late enough for everyone who drives by to enjoy. Don't forget to take pictures and tag us on facebook or intagram so we can enjoy and share as well!