Ultimate Customization
ZIP CORD, ZIP PLUGS & Zip Sockets


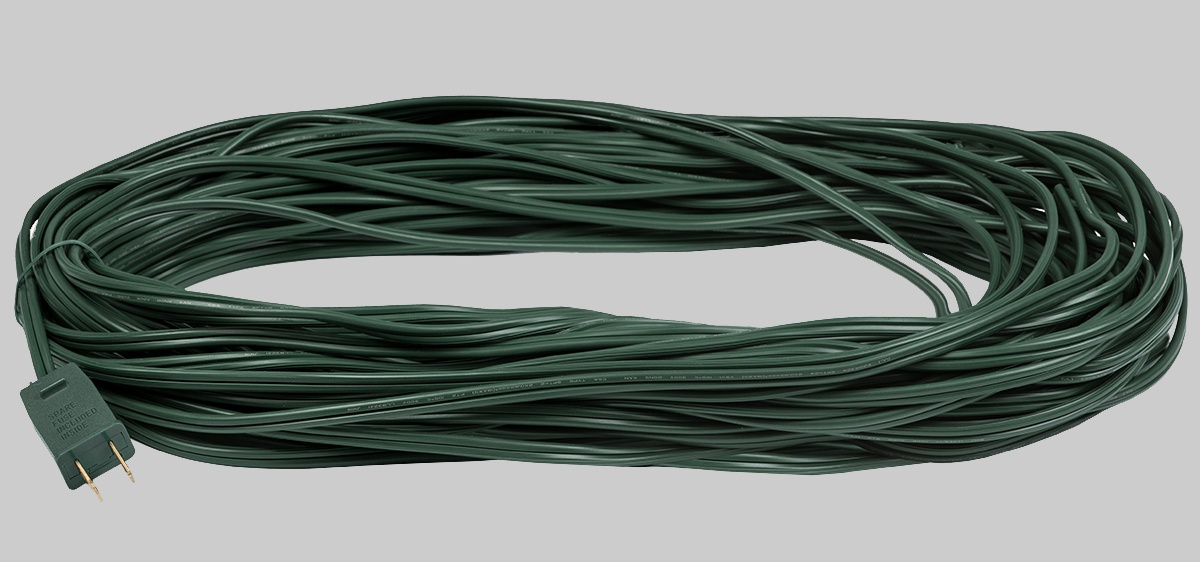
Zip Cord
It all starts with the wire, and you can create either custom string lights or custom extension cords.
Custom string lights: You can literally add bulb sockets anywhere you want along the line to suit your display needs. This is great for making string lights fit the contours of your house and only lighting the edges you want with no empty sockets stuck in the middle.
Custom extension cords: Likewise, if you have multiple displays around your yard or wrap trees with lights in various areas around your house, consider running a custom extension cord with inline female taps at precisely the spacing you need to power each of your display areas. This approach can be a great time and money saver. Plus, it often looks better because it eliminates the gaggle of extension cords strewn around your yard.
Choosing the right wire and accessories is easier than you think. It boils down to three questions:
Electrical Wire Color
Choose a color for your Christmas light wire that blends with your background. If you're running lights along the roof and you have asphalt shingles, choose black. If you're running lights along white gutters or fascia boards, choose white. If you're running a long outdoor extension cord for Christmas lights through your landscaping, perhaps to light your trees, choose green or brown. Remember that you'll want to choose sockets and zip plugs to match the color of your wire.
What SPT wire rating do I want?
The SPT rating is a measure of the thickness of the wire insulation. SPT2 insulation is thicker than SPT1. Because of this, most SPT2 wire is rated to carry up to 10 amps; most SPT1 wire is rated to 7 amps. For longer light runs that require more electrical capacity, SPT2 wire is your best choice. SPT1 wire is more flexible but rated for fewer amps so it's a better choice for smaller custom runs. Some people prefer SPT2 wire for any run size specifically if their weather is more inclement and they want more insulation between the weather and the wire.
How much wire do I need?
Before you start your custom Christmas light project, you'll want to measure how much zip cord you'll need. Once you have a total, add a little for margin of error, you should have a pretty good estimate of how much you'll need. Our Christmas zip cord wire comes in 100', 500' and 1,000' lengths, so you should be covered for any project size.
Custom Christmas Light Safety Tips
Zip Plugs
Zip plugs are designed to be easy enough for anyone to use. First, let's talk about the names for these plugs. Some people call them zip plugs. Some call them vampire plugs (because of the "vampire teeth" inside them that bite into the wire to connect to electrical current). Some call them Gilbert plugs. They're all the same thing. They come in three types (male, female and inline), two insulation ratings (SPT1 or SPT2) and four colors.
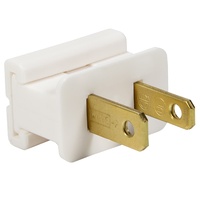
Know Your Plug Types First
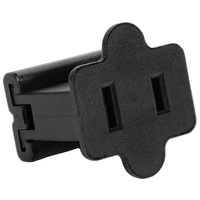
You're undoubtedly already familiar with male and female electrical plugs. We use them every day: male plugs have prongs, female plugs have receptacles. You plug males into females. It's exactly the same with zip plugs (except with zip plugs you get to open them up and look inside!). Inline zip plugs are simply a special kind of female plug designed to let electrical wire pass through them so they can be placed anywhere on a wire, not just at one end like male and female plugs.
All of these zip plugs feature "polarization." This, too, is a concept you're familiar with (though you may not realize it). It's the reason most modern household electrical accessories have one wide blade or receptacle, and one narrow. This ensures they can plug together only one way, maintaining the polarization of the electrical current and reducing the risk of electric shock. When you're attaching zip plugs to wire, you must maintain this polarization -- easy to do, but very important.
Zip plugs are designed for SPT1 or SPT2 zip cord wire. When you're ready to begin your project, simply make sure you're using the same insulation type for all your plugs and wire. Our zip plugs come in green, brown, white and black.
How To Install Zip Plugs
Zip plugs feature a slide-off backing that lets you lay electrical cord inside. When you slide the backing on again, this presses the cord down onto the vampire teeth, creating the connection with the electrical current.
Installing Male Zip Plugs
Installing Female Zip Plugs
For female zip plugs, the process is identical except you'll attach it to the other end of your electrical cord. Be sure that the ribbed wire always connects to the tooth that's connected to the wider of the two receptacles to maintain polarization. Use a female zip plug to secure the end of a run, even if you don't plug anything into it. Never leave exposed wire at the end of a run.
Installing Inline Zip Plugs
For inline zip plugs, the process is actually a touch easier.
Zip Sockets
These do-it-yourself light bulb sockets allow you to place lights wherever you want them on your string, and nowhere that you don't. They come in two sizes (C7 and C9), two insulation ratings (SPT1 and SPT2), and four colors.
Choose a size
Christmas light sockets come in two sizes -- C7 and C9, so named for the most common bulb types used in each. However, one of the beauties of these little sockets is the flexibility they give you on what bulbs to use. For example, C7 sockets will accept any E12 (candelabra) base bulb. So you can customize your Christmas light display with any of our 100-plus C7 bulb options, or you can change things up and use a popular G30 or G50 globe light with an E12 base.
Likewise, C9 sockets will accept not only C9 bulbs, but any E17 (intermediate) base bulb. Again this offers you the flexibility to use any of our nearly 100 C9 bulb options, as well as both G- and S-style bulbs that feature an E17 base.
This flexibility both in bulb placement and bulb style is the reason most custom Christmas light displays include plenty of these versatile little Christmas light sockets.
Choose an SPT insulation type
If you're using SPT1 zip cord wire, use SPT1 sockets. If you're using SPT2 zip cord wire, use SPT2 sockets.
Installing Zip Sockets
The process for installing these handy sockets is the same for C7 or C9. They arrive in two pieces, a socket and a backing, which you connect to attach to your electrical wire. Here's how: